
Presenting Slideshows
When you create an Aperture slideshow, you can choose how many images to display on
the screen, how they are arranged, how long each image is displayed, and much more.
138
Chapter 9
Creating an Aperture Slideshow
Getting Ready
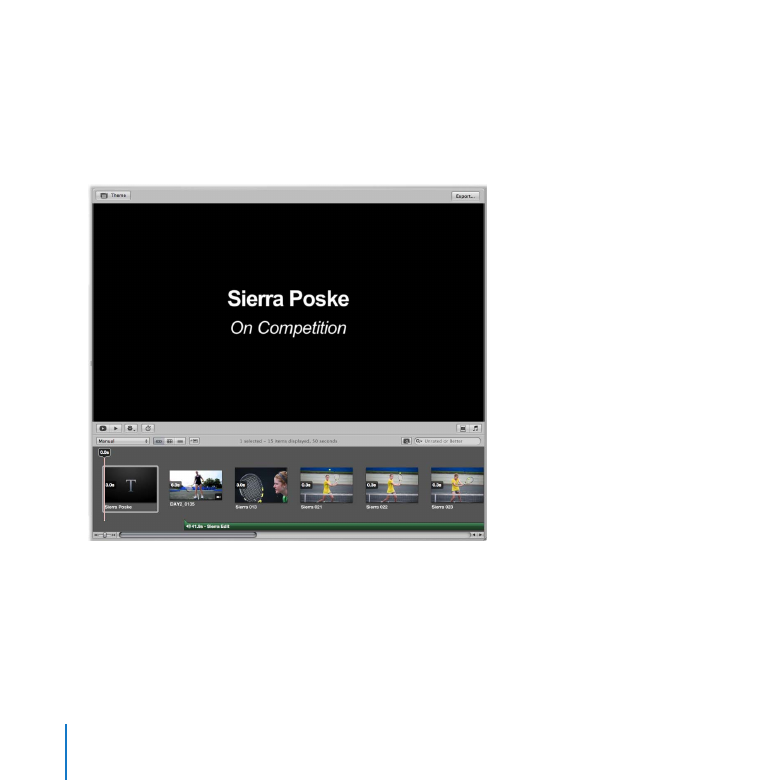
In the Library inspector, open the Photojournalism folder, if necessary, then select the
m
Sierra on Competition slideshow album in the Sports Profile project.
The main window changes to display the Slideshow Editor.

Chapter 9
Creating an Aperture Slideshow
139
Try This
Play a slideshow in full-screen mode
Click the Play Slideshow button in the Slideshow Editor. Notice that when the video
m
clip appears, it begins playing automatically, and the slideshow continues after the
clip is done.
Play Slideshow button
Press the Space bar to pause the slideshow. Press the Space bar again to resume playing.
m
Press the Right Arrow or Left Arrow key to move forward or backward through
m
the slideshow.
Press Esc (Escape) to stop the slideshow.
m
Create a slideshow album
In the Library inspector, select the Sports Profile project in the Photojournalism folder.
1
In the Browser, select the Sierra 035 and Sierra 036 images, and the DAY2_0012 video
2
clip for inclusion in the slideshow.
Choose Slideshow from the New pop-up menu in the toolbar.
3
140
Chapter 9
Creating an Aperture Slideshow
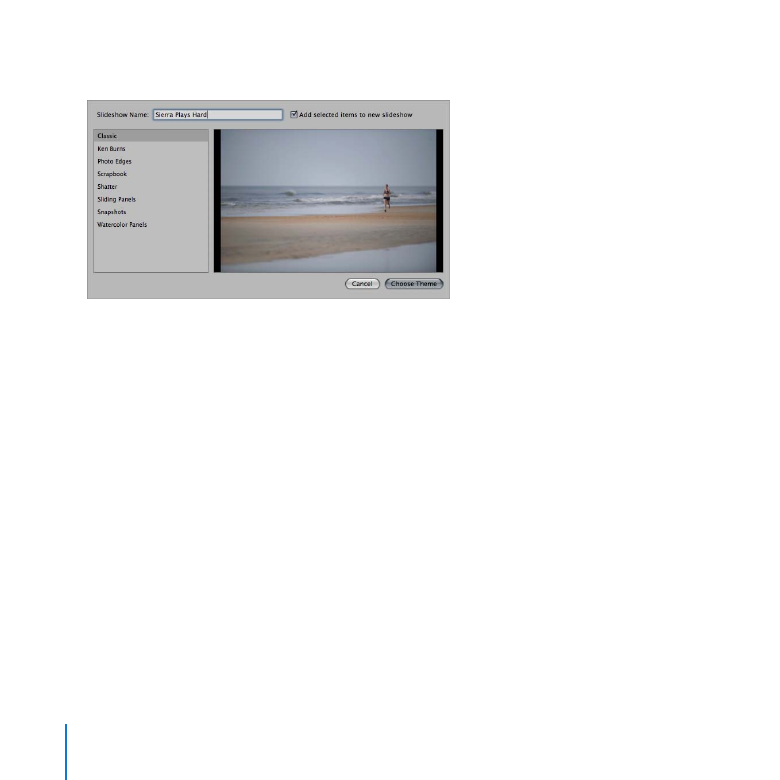
In the dialog that appears, enter “Sierra Plays Hard” in the Slideshow Name field.
4
Select the Scrapbook theme for your slideshow in the list of themes, and watch as
5
Aperture demonstrates what the slideshow will look like.
Select the Sliding Panels theme for your slideshow, and watch as Aperture
6
demonstrates what the slideshow will look like.
Select the Watercolor Panels theme for your slideshow, and watch as Aperture
7
demonstrates what the slideshow will look like.
Chapter 9
Creating an Aperture Slideshow
141
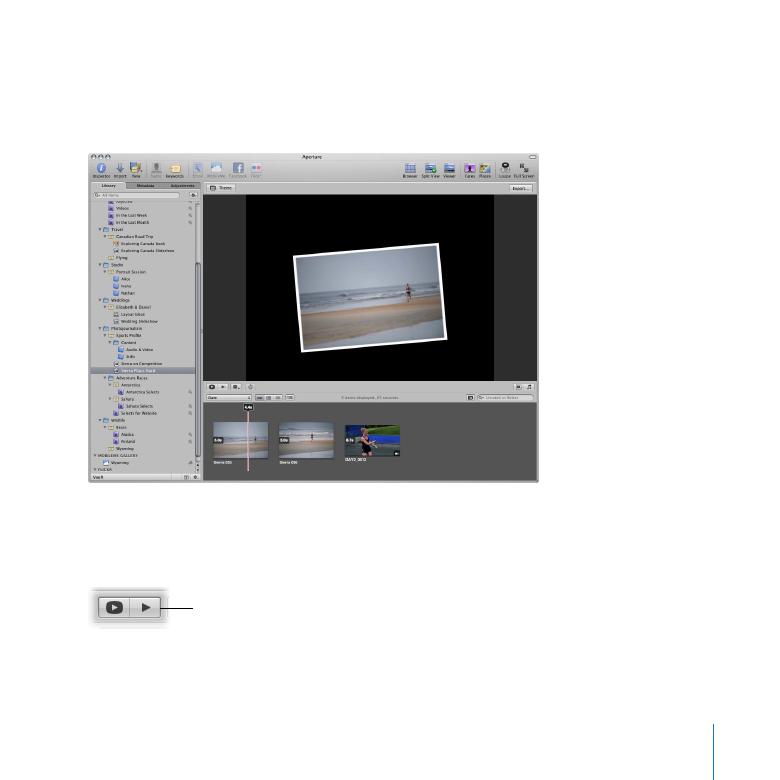
Select the Snapshots theme for your slideshow, then click Choose Theme.
8
Aperture creates a new slideshow album in the Library inspector and opens the
Slideshow Editor above the Browser, which displays the images in the album.
Preview a slideshow in the Slideshow Editor
Click the Preview Slideshow button in the Slideshow Editor. Press the Space bar to stop
m
the slideshow.
Preview Slideshow button
142
Chapter 9
Creating an Aperture Slideshow
Change the order of slides in the slideshow
In the Browser, drag the images into a different order.
1
Play the slideshow to see the difference.
2
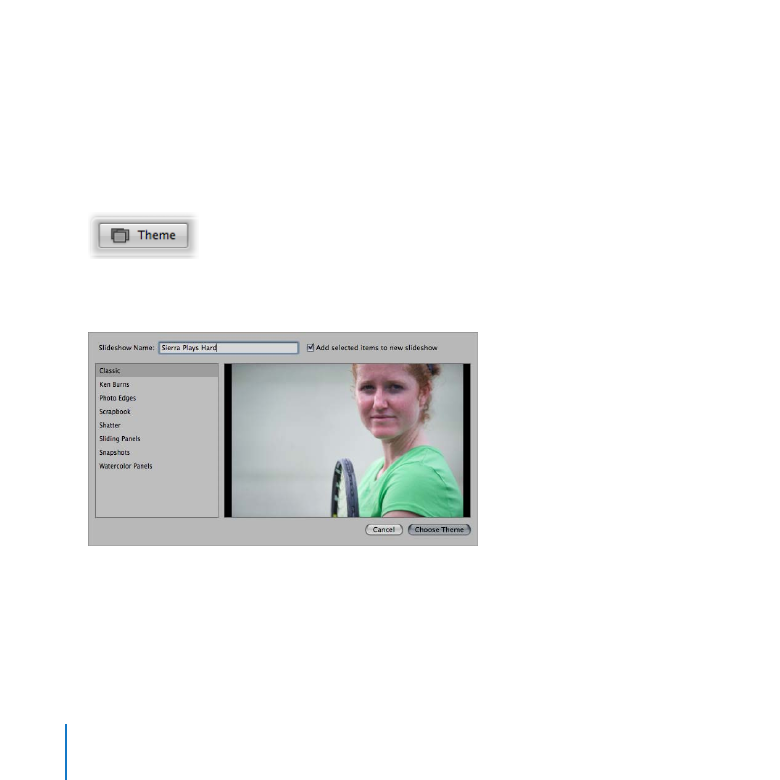
Change the theme of the slideshow
Click the Theme button.
1
In the dialog that appears, select the Classic theme in the themes list, then click
2
Choose Theme.
Play the slideshow to see the effect of the theme change.
3
Chapter 9
Creating an Aperture Slideshow
143
Change the transitions used between images
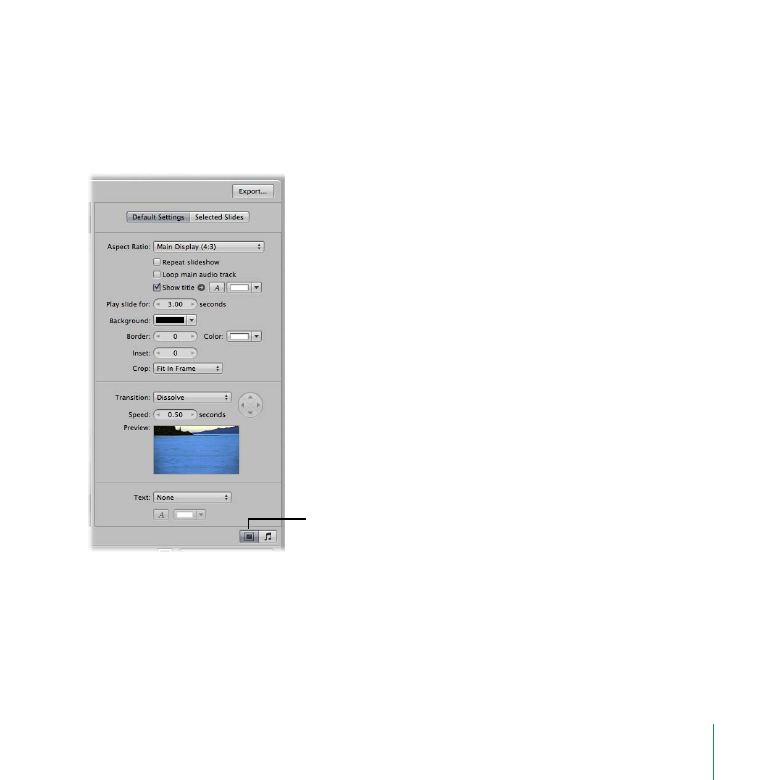
Click the Slideshow Settings button to display the options for customizing your
1
slideshow. If the Default Settings pane is not already shown, click the Default
Settings button.
Slideshow Settings button
144
Chapter 9
Creating an Aperture Slideshow
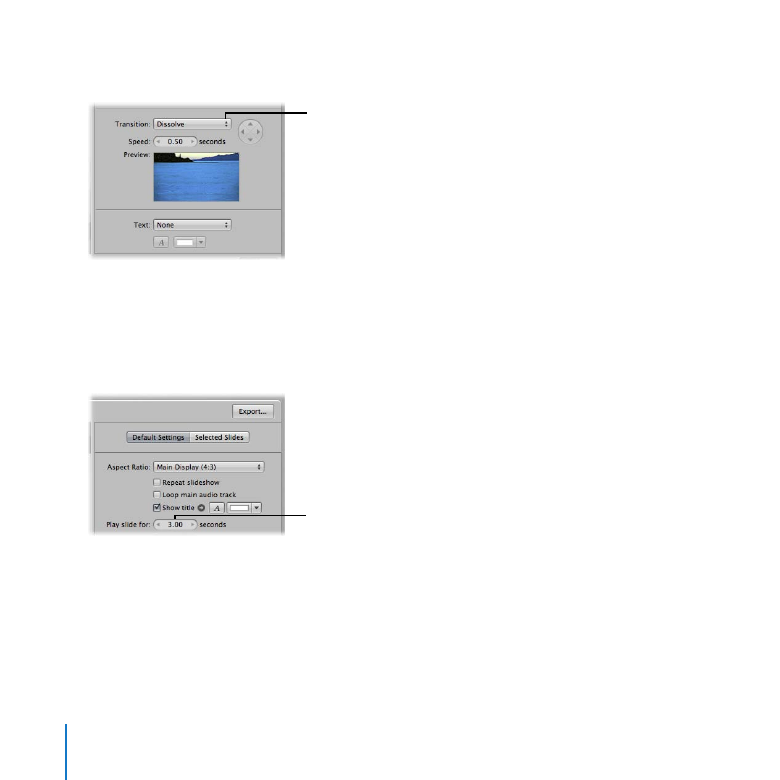
Choose the type of transition you want from the Transition pop-up menu.
2
Transition pop-up menu
Play the slideshow to see the effect of the transition you chose.
3
Change the timing of the slides
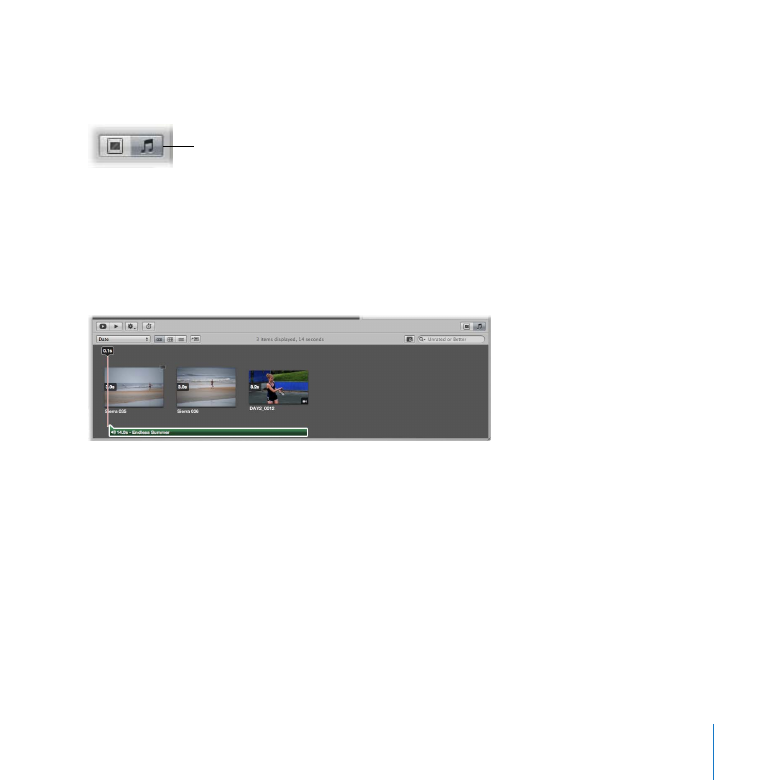
Change the value in the “Play slide for” value slider to specify the length of time each
m
slide should appear.
“Play slide for” value slider
Chapter 9
Creating an Aperture Slideshow
145
Add music to the slideshow
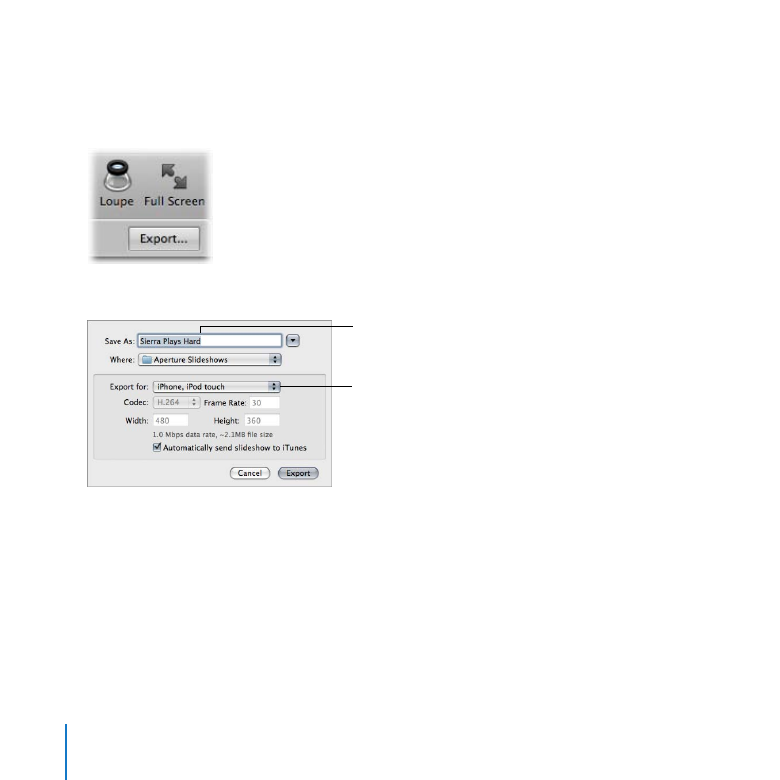
Click the Audio Browser button to display the options for selecting music.
1
Audio Browser button
Navigate to the music you want played during the slideshow. For example, select the
2
Theme Music folder, then select a song and drag it to the Browser. You can drag the
song to a gray area of the Browser to add the song to the entire slideshow. You can
also drag the song to an image to start the song at a specific point in the slideshow.
Position the song where you want it to start.
Play the slideshow to see it accompanied by the music you chose.
3
146
Chapter 9
Creating an Aperture Slideshow
Export a slideshow for others to view
Click the Export button to export your slideshow as a movie that others can view on
1
their computers.
In the export dialog, enter a name for the slideshow movie in the Save As field.
2
Enter a name here.
Choose a slideshow
movie format here.
Choose the format of the slideshow movie from the “Export for” pop-up menu. You can
3
choose formats that allow your slideshow to be viewed on standard or high definition
TV, Apple TV, iPad, iPod, iPhone, and more. For example, choose iPod to format your
slideshow for display on iPod.
Notice the “Automatically send slideshow to iTunes” checkbox. When you select this
checkbox, Aperture sends your slideshow to iTunes, where the slideshow can easily be
transferred to your iPhone or iPod when you next sync it.

Chapter 9
Creating an Aperture Slideshow
147
Click Export.
4
After Aperture finishes exporting the slideshow, open iTunes and click Movies to locate
5
your slideshow in the iTunes library. Play the slideshow movie you just created.