
Rating Images
As you review images, you can easily rate them from zero to five stars and reject
images that you don’t like. You can then have Aperture display only images in the
Browser that have a certain rating or higher. For example, you might have Aperture
display only your highest-rated, five-star images.
Chapter 3
Exploring Photo Editing
57
Try This
Rate images
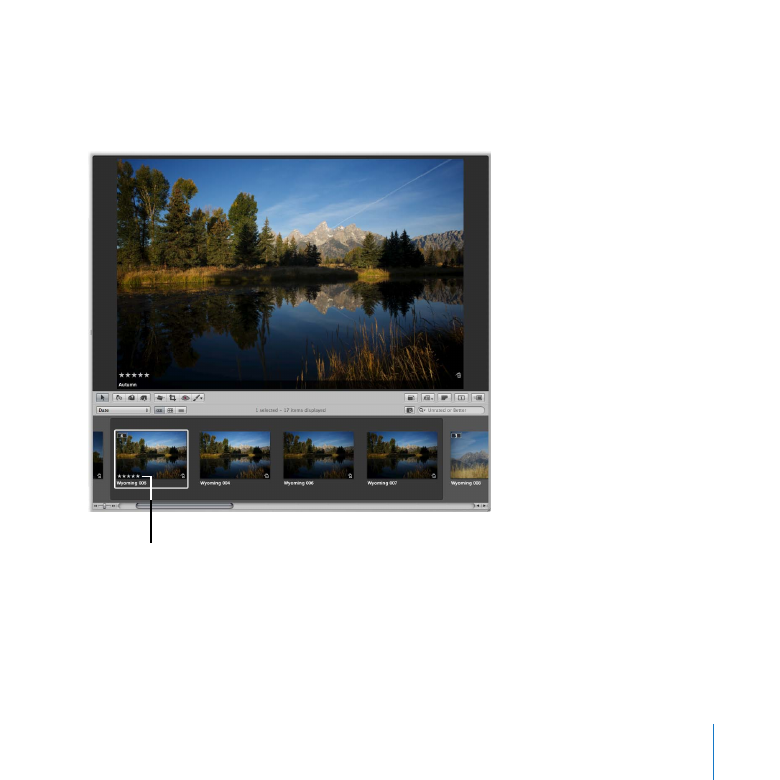
Select the Wyoming 005 image, and press 5 to assign a five-star rating.
1
Five-star rating
You assign ratings by pressing the number keys 0 to 5. You can also press Plus Sign (+)
or Minus Sign (–) to increase or decrease the rating of a selected image.
58
Chapter 3
Exploring Photo Editing
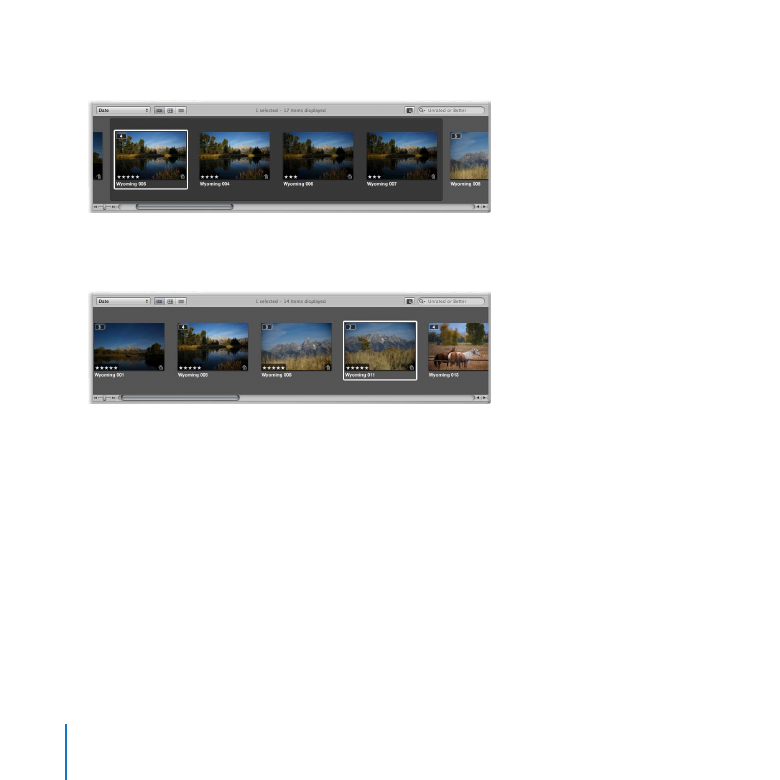
Assign the Wyoming 004, Wyoming 006, and Wyoming 007 the ratings shown below.
2
Click the Stack button on the Wyoming 005 image to close the stack.
3
Select several of the stacks and assign the pick image a five-star rating, as shown below.
4
Chapter 3
Exploring Photo Editing
59
Find images based on their rating
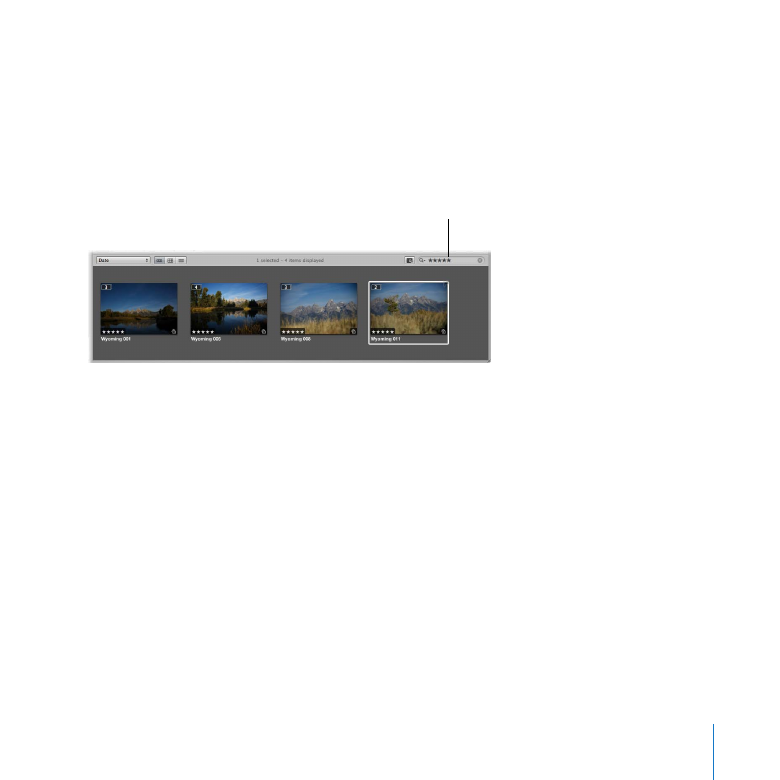
Choose five stars from the search field pop-up menu (with a magnifying glass icon) to
m
display only five-star images.
The Browser changes to show only the images that have the rating chosen from the
search field pop-up menu.
Choose five stars here.
Choose Unrated or Better from the search field pop-up menu to display only images
m
that are unrated or better.
60
Chapter 3
Exploring Photo Editing
Reject images
Select the Wyoming 013 image and press 9 to reject the image.
1
An X appears on the image to indicate that it has been rejected.
Select another image.
2
The rejected image disappears from the Browser. (Other images in a stack that aren’t
rejected still appear.) This is because the Browser is set to display images that are
unrated or better, hiding rejected images.
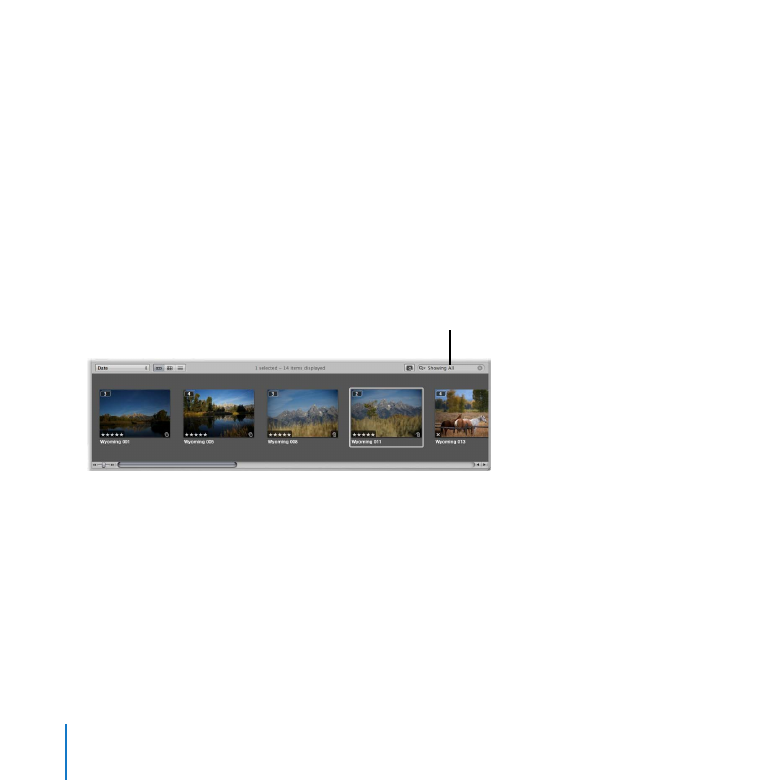
To display the rejected image again, choose Show All from the search field pop-up menu.
3
The Browser now displays all the project’s images, including rejected ones.
Choose Show All here.
Select the rejected image and increase its rating to four stars.
4
Choose Unrated or Better from the search field pop-up menu to restore the Browser to
5
its default setting.
Chapter 3
Exploring Photo Editing
61