
Exploring Import Options
Aperture provides easy ways of selecting images to import, naming files, assigning
identifying information called metadata, and storing images.
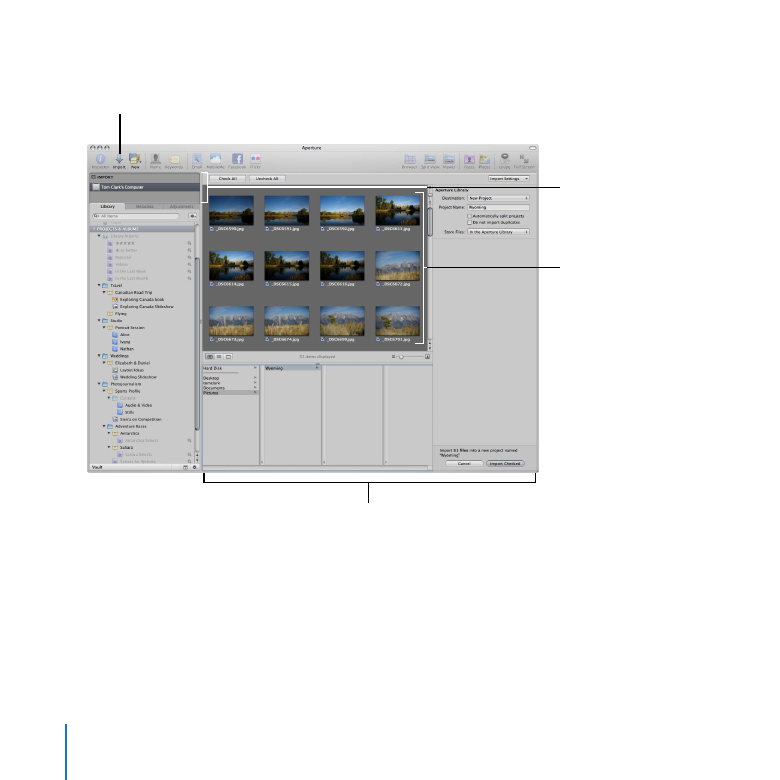
When you connect a camera or insert a card of images into a card reader connected to
your computer, the Import pane and the Import browser appear.
36
Chapter 2
Importing Images
You then select the images you want to import and specify import options.
Import button
Import browser
Images
to be imported
Import pane
Rather than importing images from a camera or card reader, for now you’ll just import
some sample images from the Wyoming folder that you copied to your hard disk in
Chapter 1.
Chapter 2
Importing Images
37
Try This
Open the Import browser and choose a destination
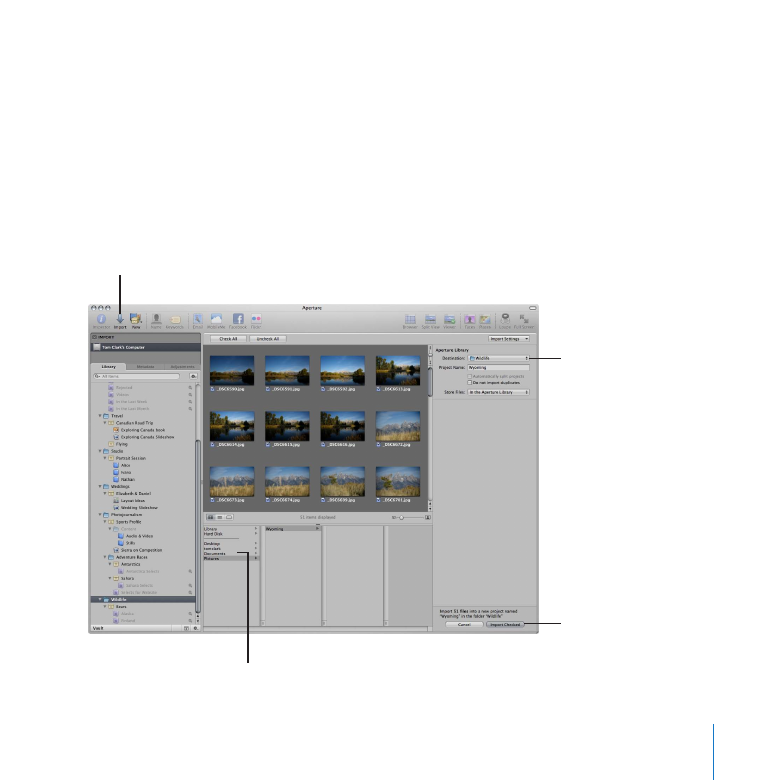
Click the Import button in the toolbar to open the Import browser.
1
The Import browser appears.
Select the Wildlife folder in the Library inspector.
2
The Destination pop-up menu changes to show that the Wildlife folder is selected as
the destination.
Import button
Select the folder holding
the images to be imported.
Click here to import
the images.
Destination
pop-up menu
38
Chapter 2
Importing Images
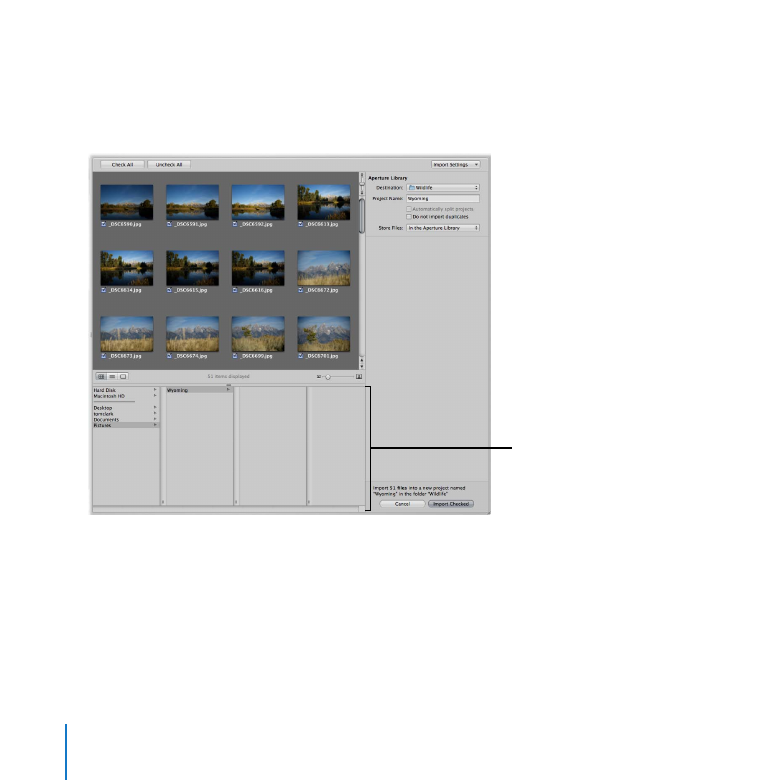
Click Pictures in the file browser and select the Wyoming folder that holds your sample
3
images. You see the sample images appear as thumbnails.
The images you see on your screen may be different from those shown here.
Note:
Use the file browser
to navigate to the images
you want to import.
By default, all of the images are selected for import. You can also select just the images
that you want to import by deselecting the checkboxes for the images you don’t want.
Chapter 2
Importing Images
39
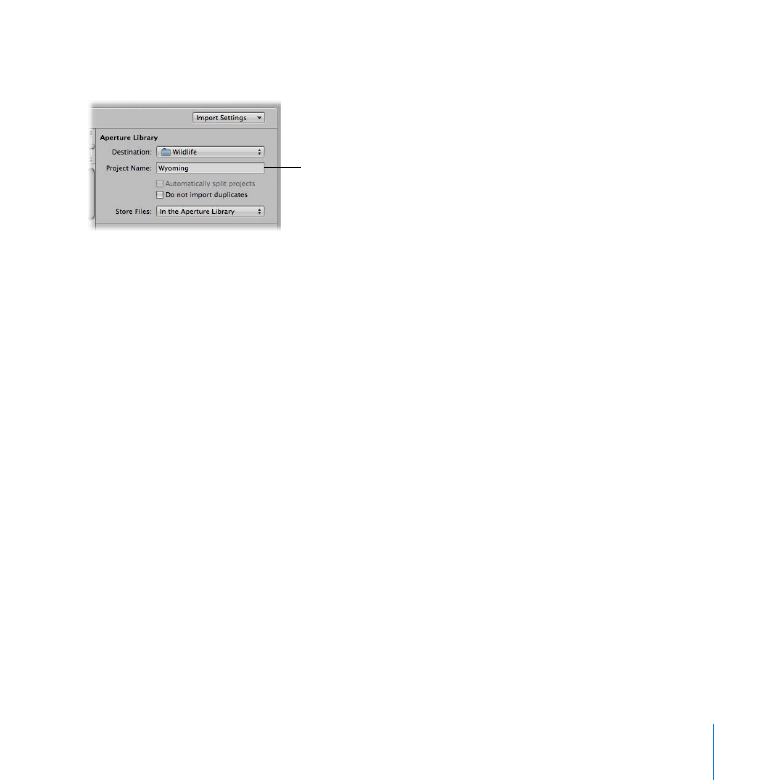
The name “Wyoming” appears in the Project Name field.
Project Name field
Aperture is now set to import your images into a new project named Wyoming inside
the Wildlife folder. You can also set Aperture to import images into an existing project
by selecting a project in the Library inspector.
Choose “In the Aperture Library” from the Store Files pop-up menu to store the files in
4
the Aperture library on your hard disk. You can also choose to store files in a different
location on your hard disk, or, if the files already reside on a hard disk, you can choose
to leave the files in their current location.
40
Chapter 2
Importing Images
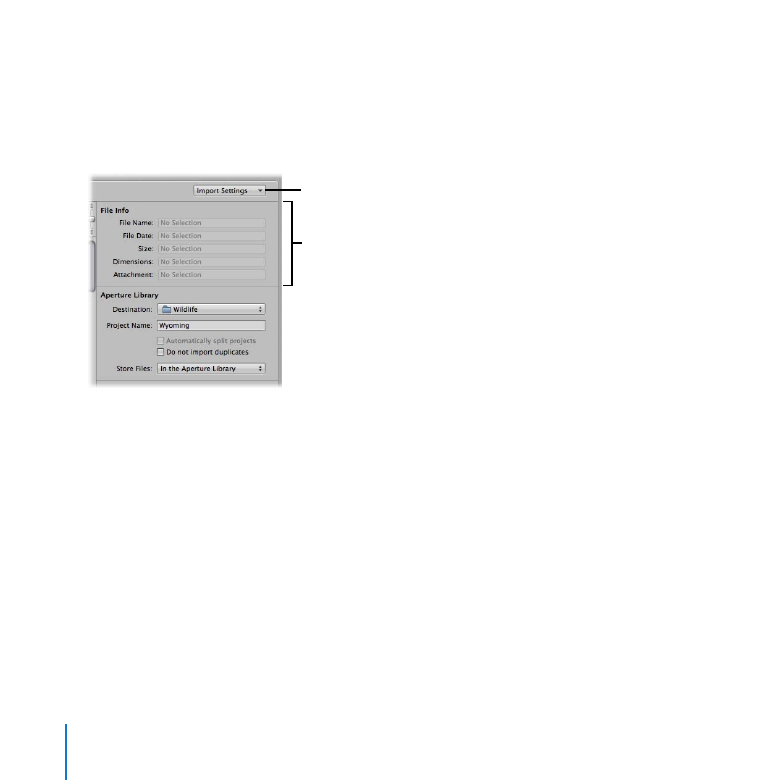
View information about specific images
To view information about specific images, choose File Info from the Import Settings
m
pop-up menu. The File Info area of the Import browser displays information about your
images. Click different images to select them and see the information change.
Information about
a selected image
appears here.
Import Settings
pop-up menu
Double-click an image in the Import browser to see a larger view of it. Double-click it
m
again to return it to the standard size.
Chapter 2
Importing Images
41
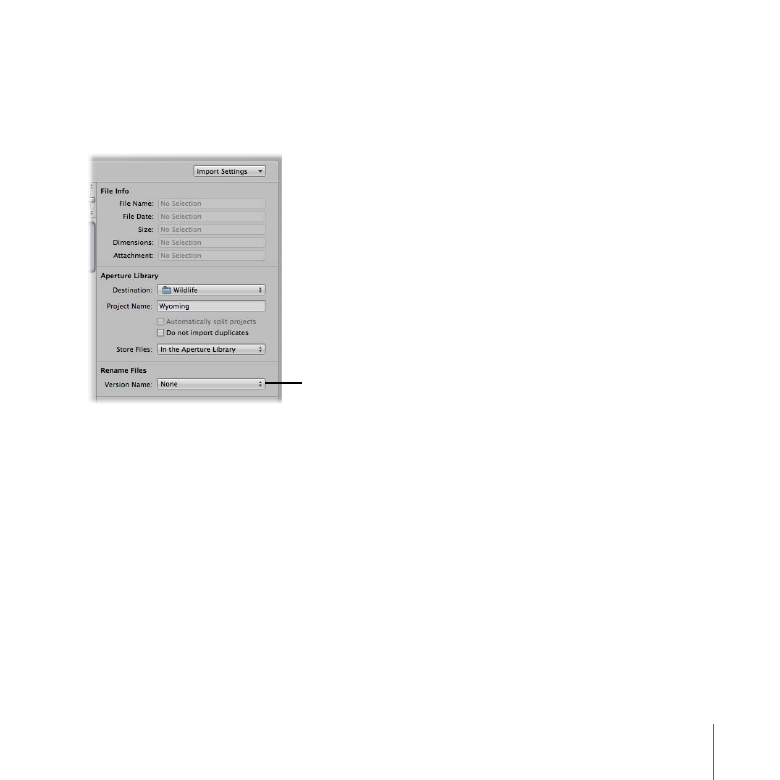
Name images when you import them
Choose Rename Files from the Import Settings pop-up menu.
1
The Rename Files options appear in the Import browser.
Rename Files options
You choose the type of naming convention you want from the Version Name pop-up
menu. Aperture provides a variety of name formats and also allows you to create
custom name formats.
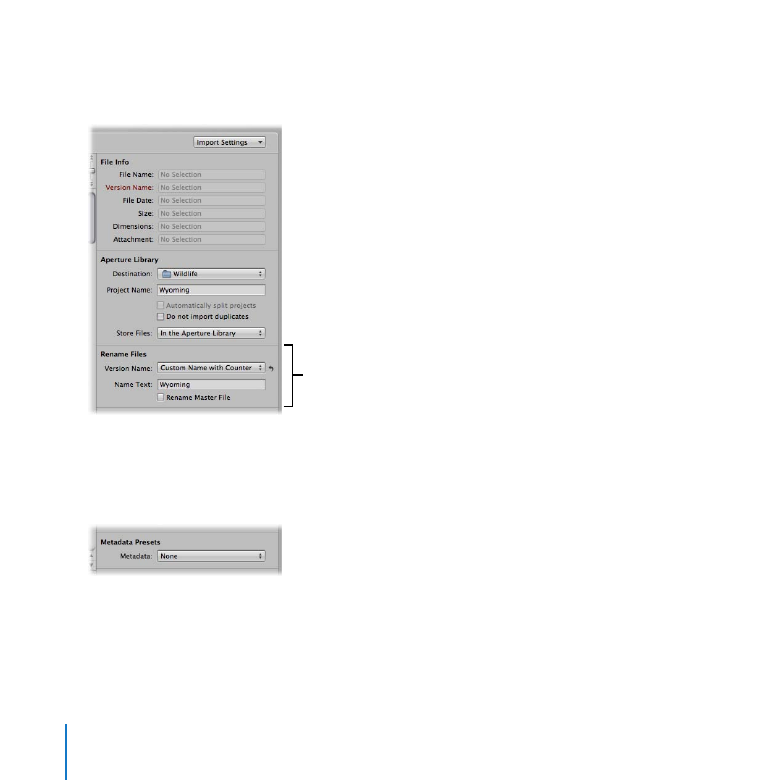
Choose Custom Name with Counter from the Version Name pop-up menu.
2
42
Chapter 2
Importing Images
Enter “Wyoming” in the Name Text field. Aperture will name the imported images
3
Wyoming 001, Wyoming 002, Wyoming 003, and so on.
Filenaming options
Add metadata to images when you import them
Choose Metadata Presets from the Import Settings pop-up menu.
1
The Metadata Presets options appear.
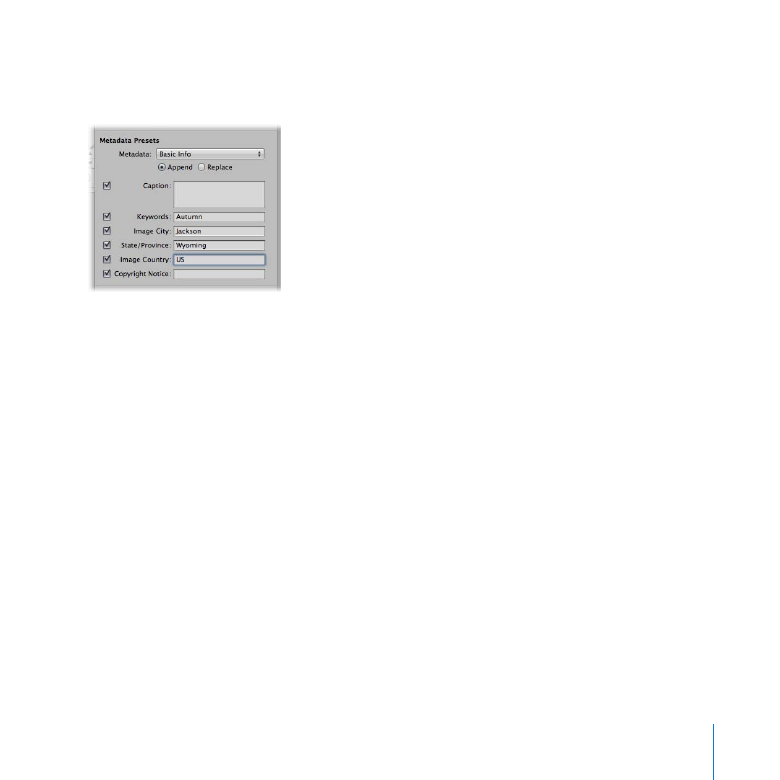
Choose Basic Info from the Metadata pop-up menu in the Metadata Presets area.
2
Chapter 2
Importing Images
43
Enter a caption, keywords, and any other metadata that you want all the imported
3
images to have.
Import the images into Aperture
Click the Import Checked button to import the images.
1
After Aperture imports the files, click OK.
2
Select the Wyoming project in the Library inspector to see the names given to the
3
imported images. (Click the Split View button to see the images in the Browser,
if necessary.)

44
Chapter 2
Importing Images