Exploring Printing
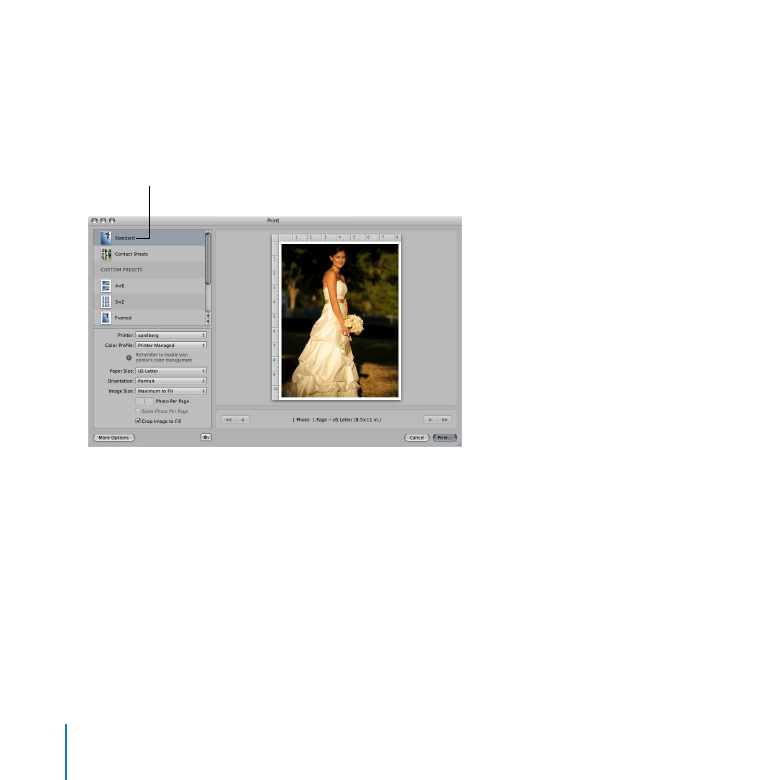
You use the Print dialog to specify the printing options you want. You can print a single
image per page, or you can print contact sheets of your images.
Select Standard to print
a single image per page.
Chapter 10
Printing from Aperture
151
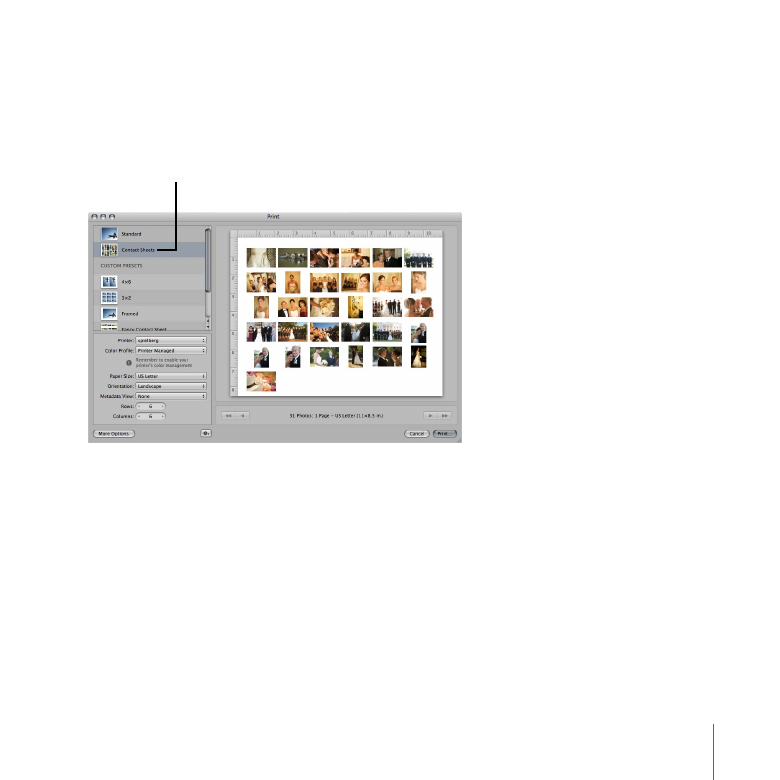
When you print contact sheets, Aperture does all the layout work for you. You select
the number of pages you want or the number of columns that you want on a page,
and Aperture adjusts the size of the images based on your settings.
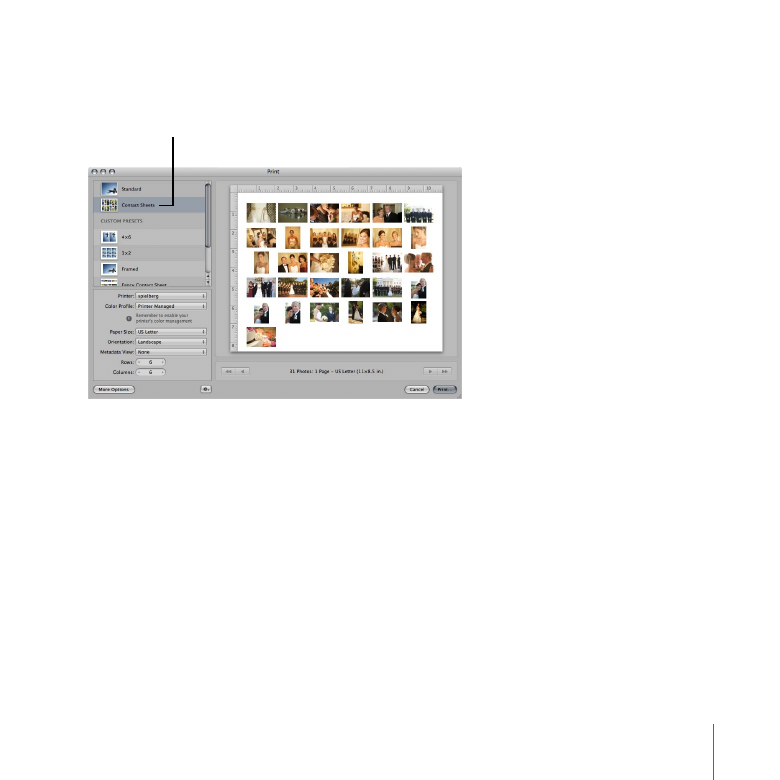
Select Contact Sheets
to print a contact sheet.
Getting Ready
Select the Elizabeth & Daniel project in the Weddings folder in the Library inspector.
1
Select an image in the Browser. (Any image will do.)
2
Choose File > Print Image.
3
Choose Add Printer from the Printer pop-up menu.
4
If your printer does not appear in the dialog, visit your printer manufacturer’s website
and download the latest drivers.
152
Chapter 10
Printing from Aperture
Choose your printer, then click Add.
5
Click Cancel.
6
Now Aperture is ready to print using your printer.
Try This
Print a single image
Select the 071014_King_0582 image in the Elizabeth & Daniel project.
1
Choose File > Print Image.
2
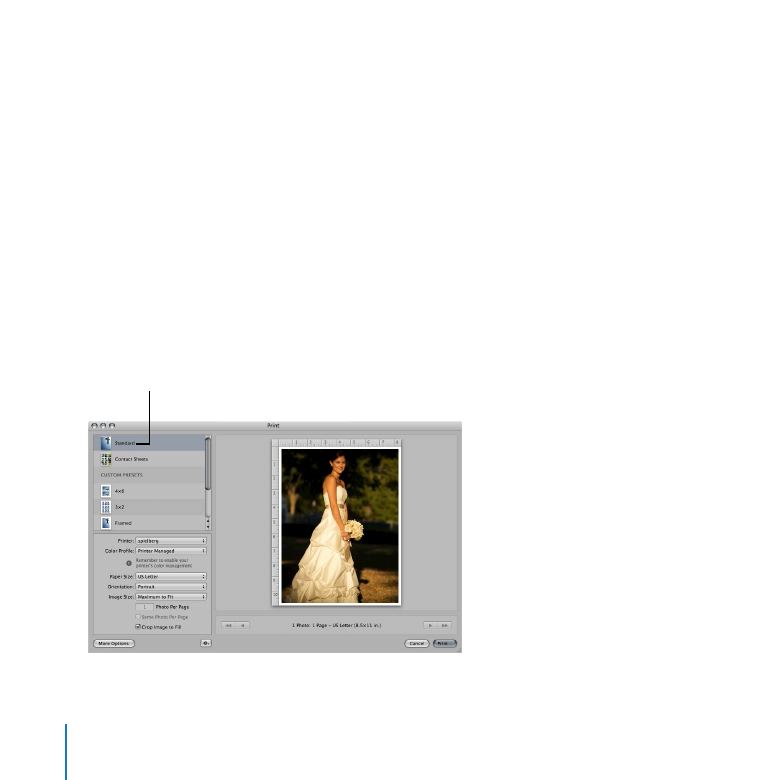
In the Print dialog, select Standard in the preset list.
3
If the image isn’t rotated correctly, choose Portrait from the Orientation
Note:
pop-up menu.
Select Standard to print
a single image per page.

Chapter 10
Printing from Aperture
153
Choose the printer you want to use from the Printer pop-up menu.
4
You must have the correct printer driver installed on your computer in
Important:
order to use your printer. See the documentation that came with your printer for
information about installing and updating the necessary printer software.
Explore the effects of these printing options:
5
Paper Size pop-up menu:
Â
Choose a paper size from the list of available sizes.
Orientation pop-up menu:
Â
Choose portrait orientation, if necessary.
Image Size pop-up menu:
Â
Choose an image size for the printed image. Choosing
Maximum to Fit allows Aperture to fit the largest image possible for the paper size.
Choosing Custom allows you to specify the image dimensions you want.
Click Print.
6
In the dialog that appears, click Print to print your image.
7
Print a series of images, each on its own sheet of paper
In the Browser, select several images in the Elizabeth & Daniel project.
1
Choose File > Print Images.
2
In the Print dialog, select Standard in the preset list.
3
Specify the paper size, orientation, and image size you want for the photos.
4
If you chose an image size small enough that two or more photos can fit on the page,
5
the Photo Per Page field becomes available. Enter “1” in the field to specify that one
image should be printed per page.
154
Chapter 10
Printing from Aperture
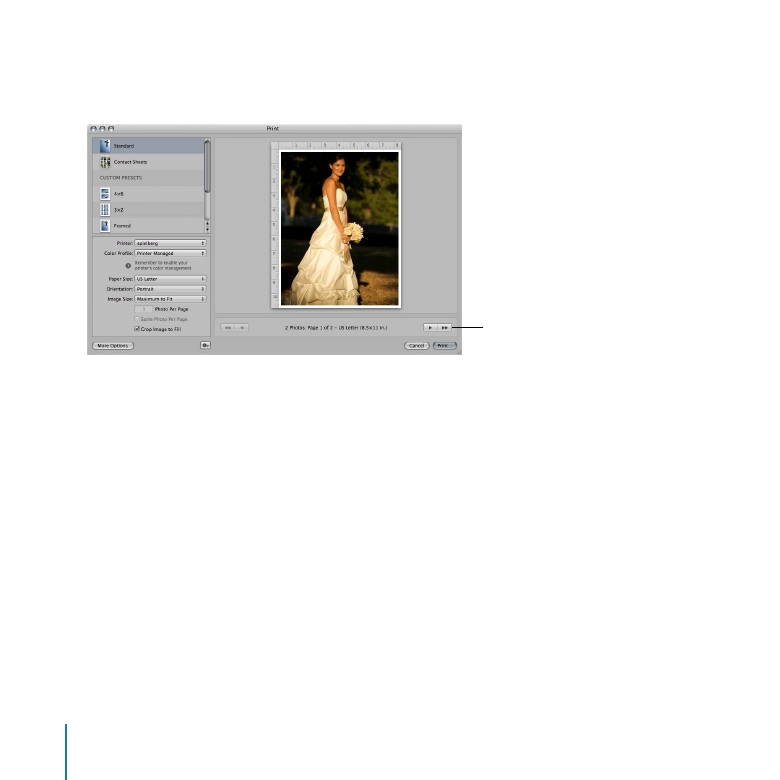
Click the right and left arrows in the dialog to navigate forward or backward through
6
the images to review them.
Navigation arrow
buttons
Click Print.
7
In the dialog that appears, click Print to print your images.
8
Print a contact sheet of images
In the Browser, select all the images in the Elizabeth & Daniel project by pressing
1
Command-A.
Choose File > Print Images.
2
Chapter 10
Printing from Aperture
155
Select Contact Sheets in the preset list. Aperture is now set to print multiple images
3
per page.
Select Contact Sheets.
Choose Landscape from the Orientation pop-up menu.
4
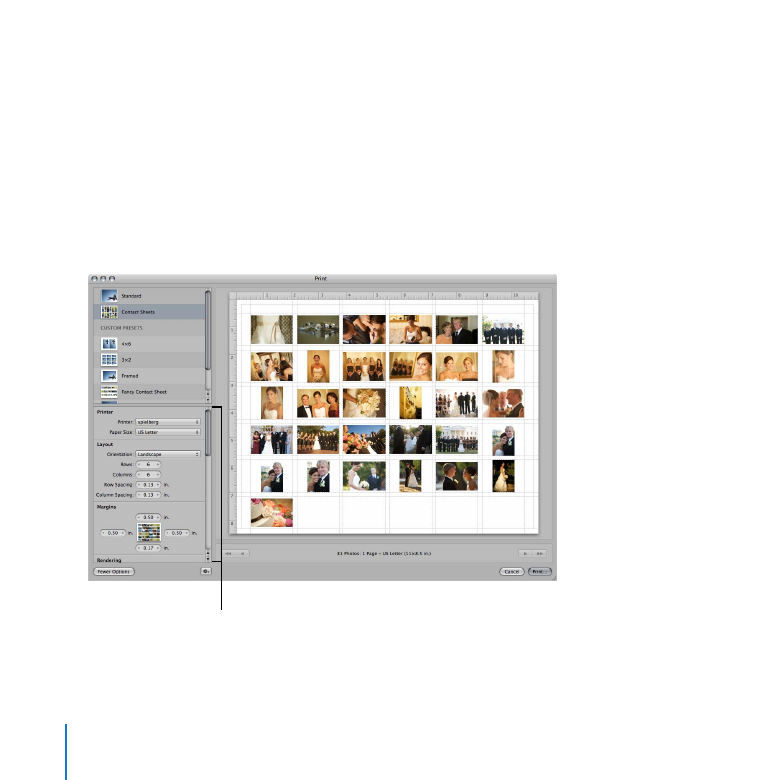
Explore the effects of these printing options:
5
Metadata View pop-up menu:
Â
Choose a metadata preset to specify the image
metadata that you want printed for each image.
Rows and Columns value sliders:
Â
Use the value sliders to specify the number of rows
and columns of images that should be printed on the page. Aperture automatically
adjusts the size of the images based on the number of rows and columns.
Verify the layout of your contact sheet in the preview area.
Click Print.
6
In the dialog that appears, click Print to print your contact sheet.
7
156
Chapter 10
Printing from Aperture